Wednesday, 24 October 2012

DIY Bindi Tutorial


Today I am going to show you how to make your very own bindis - at home - for free (or very little).


Now don't get me wrong, these are no 'Kuhl' jewels, but you can make something pretty that will at the very minimum satiate your need for a new bindi when you don't quite have the cash to buy one.

Now most people have at least glue at home and some kind of sparkly gem or bead - so you might not need to purchase a thing - meaning your bindis are FREE. If you don't have these supplies, you can get them at any craft store - Michaels, Joann, even Walmart should have them.

You will need:

- Fabric paints and/or white glue
- A hard plastic surface - something that you can paint your creations onto and peel them off of afterwards (sour cream lid/ tupperware/ CD case etc)
- Something SPARKLY that you would like to see on your bindi - rhinestones, gems, pieces of earrings, beads, shells etc.


Okay now for the method - it is SO SIMPLE.

1. Using your fabric paint or glue, paint some BLOBS on your plastic surface. Yes we are using very technical terms here. Paint your blobs and don't worry about the peaks that form or how thick they are - we want them thick like that!


2. Next, using a steady hand or pliers or tweezers, drop your sparkly jewels onto the blobs.
 DO NOT push them down. Just make sure the edges are all touching your paint/glue. 


3. Wait until the paint/glue is COMPLETELY DRY. 
Your blobs should be thick, so leave it overnight just to be safe.

4. Peel them off! 
*If you notice some imperfections, you can cut them off with scissors or an exacto knife.

Your bindi can be worn by dabbing some eyelash glue on the back, and adhering them to your clean skin. 

See how the glue dries clear? So it will really look like all that you're wearing is the stone or gem - kind of a neat effect don't you think?! 


What I used for the bindis above: pieces from cheap earrings, beads, a shell and rhinestones over the glue. I used rhinestones on the acrylic paint and fabric paint bindis.

Enjoy your new easy and cheap to make bindis! Send me pictures if you make your own - thetribalway@gmail.com


Friday, 24 August 2012

Super Summer Smoothie


This 5 ingredient smoothie is the perfect refreshing snack for these hot summer days, especially after a long dance practice that leaves us 'glistening'.


Peach-Mango Green Smoothie


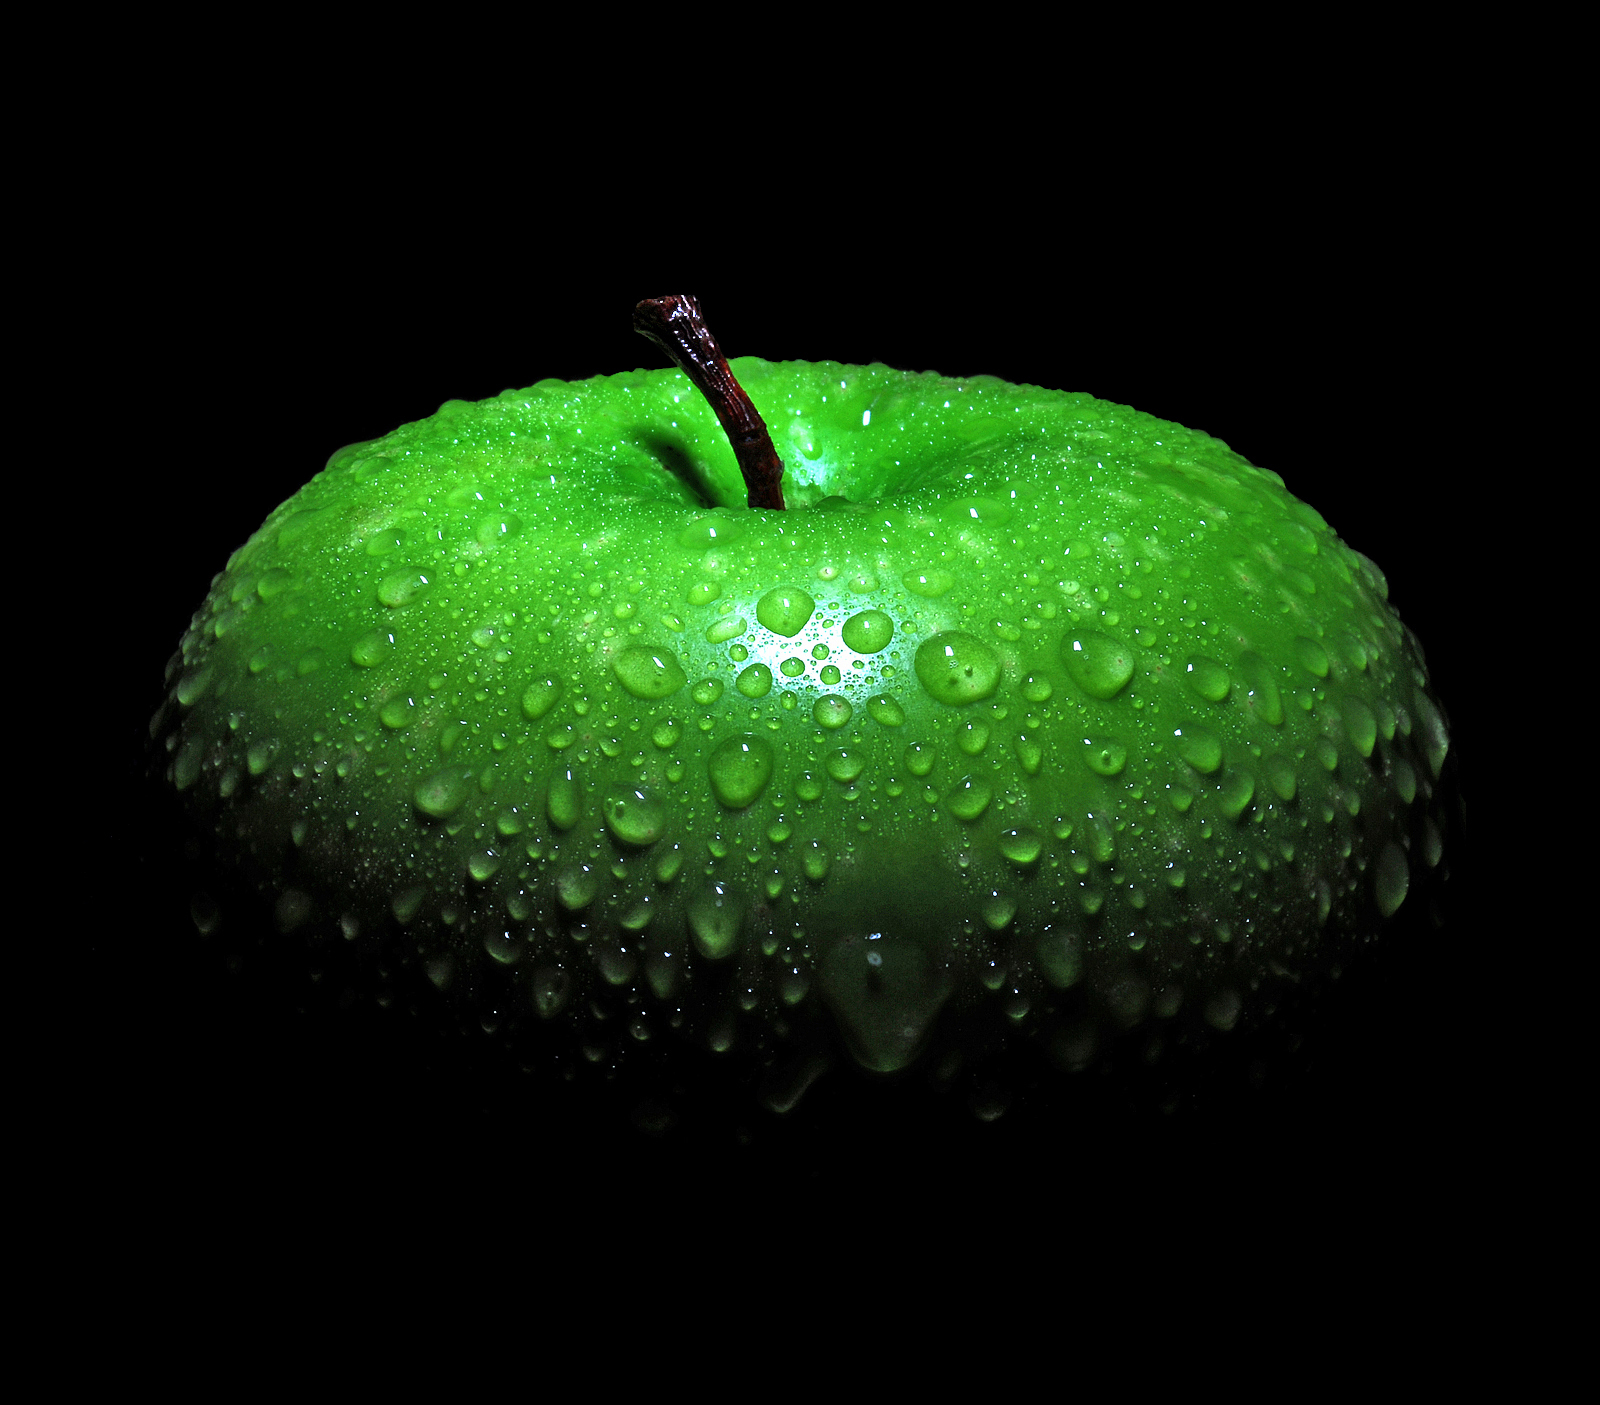
green apples black background HD Wallpaper
Ingredients for one smoothie:


- 1 granny smith apple, peeled and cut up into chunks
- Cucumber (about 2-3 inches, peeled and cut up)
- Frozen pineapple chunks (1/2 cup)
- Almond Milk (1/2 cup)
- Raw honey (optional, 1-3 tsp depending on taste)


Add all ingredients to your blender or bullet and mix until it runs smooth! Enjoy!

Notes:
- I peel most of my apple and cucumber because I don't like chunks of peel, but as long as they're washed the skins are very good for you. If you have an excellent blender or you don't mind chunks, leave the skin on!
- I haven't tried it yet but I believe these would make delicious popsicles!


Wednesday, 22 August 2012

Dance Rooms - The Details


Hey guys :) So of course I've been admiring the photos from Janice, Glenda, and Tiffany's dance rooms. Then I saw that they each had some genius in their design which I'm sure they didn't plan, it just happened to look good to them - nevertheless they may be things we wouldn't think of! Here is some of what I noticed that inspired me -  it's all in the details! ;)

From Janice's Room - Jewelry display and inspirational pictures

Janice has some beautiful tribal jewelry, and she has devised beautiful ways to display it when it is not in use. Simple, elegant, beautiful - and practical! In the first picture it looks like she's taken either picture frames or cork boards and covered the middle with black velvet, secured with silver tacks. In the second picture she is displaying rich fabric with a few select pieces over top.


Janice also has a number of gorgeous and inspiring paintings and photographs in her dance room, including this postcard that I just love! Isn't that just exactly how it is sometimes? In reality I may be wearing a tank top with baby adorned drool splotches and a skirt hiked up so it doesn't get caught on the stairs on the way to doing laundry - not to mention messy hair and no make-up. But in my mind I am beautiful - performing a soulful shimmy or double back for my adoring (5 month old) audience. Haha! :)


Glenda's Dance Room - Ego cup and FCBD necklace

If you've learned any ATS, you will know that a component crucial to success is the ability to take off our 'leader hat' and resist pushing our own agenda when it is not appropriate. What could be a more wonderful reminder to surrender our ego than this very practical visual reminder that Glenda has thought up!


Glenda also purchased one of the Fat Chance Belly Dance 25 year memorial coins, and added it to a string of beads to make a one of a kind necklace!


Tiffany's Room - Hair flower ribbon and sari

We love our hair flowers, don't we? So where to put them all? Tiffany made a lovely little flower holder simply by finding some ribbon and using tacks to fix it to the wall in a corner. Then the flowers can be clipped on. I could see doing a few pieces of ribbon, then you would be able to see all of your hair flowers at once rather than having to search for one in a particular colour.


Beautiful sari! Though I don't think I could resist making them into pantaloons, Tiffany saw her curtains in them! Wonderful contrast to the dark orange walls too. Such a fun, colourful and energizing room!


Thank-you, lovely ladies, for sharing your ideas with us!

Monday, 20 August 2012

Dance Room - Tiffany


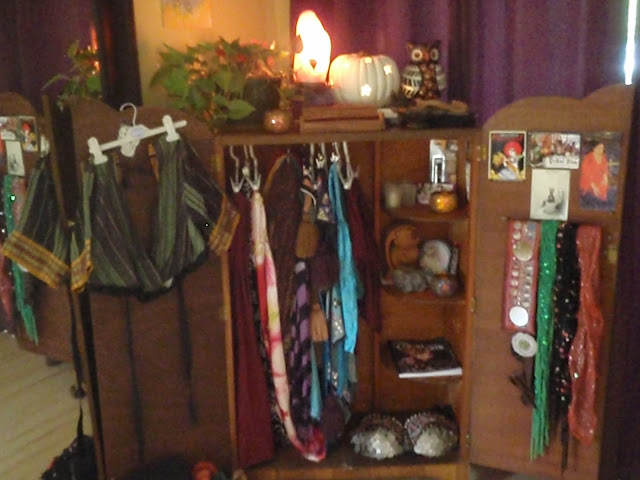
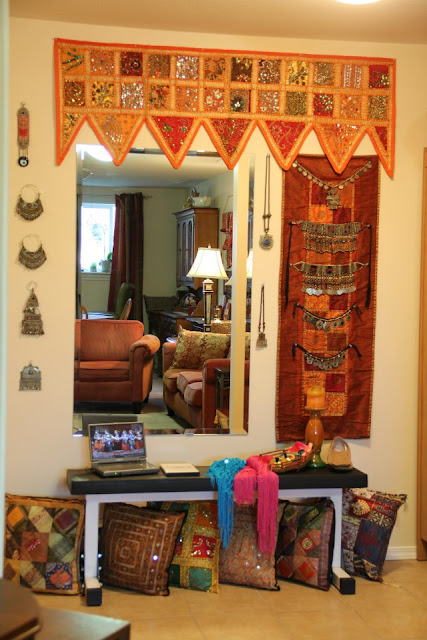
Lastly we have Tiffany, who has sadly moved and has a new dance room in progress I'm sure. For now she is letting us admire pictures of her old dance room! This room is fully equipped - new flooring, two gigantic mirrors, and a closet for storing all of her skirts and various tribal pretties. Thank-you for sharing with us Tiffany!


Thanks again Tiffany!

Saturday, 18 August 2012

Dance Room - Glenda


Ah yes, another treat for the curious dance enthusiasts! Glenda has been dancing American Tribal Style for over two years. She has lots of inspiration in this room - from all the snapshots of loving and inspiring friends to the creative pseudo audience she dances for as well. Thanks for sharing shimmy sister!


Her audience :)


"Please place ego here"

Thanks again Glenda! 

Friday, 17 August 2012

Dance Room - Janice


Hello everyone! Here is our first opportunity to take a peek into another dancer's haven of joy. A friend of mine has made tremendous use of a 6 foot by 6 foot space. That's right, only 36 square feet is all it takes to lose yourself into a world of motion and freedom. Of course, if I were her I think I'd be just (about) as happy staring at the beautiful antiques and jewelry in her possession! ;) Thank-you for sharing with us Janice!


 If you'd like to share your dance room with The Tribal Way, even if it's just in progress, please email me at thetribalway@gmail.com

Huge thank-you to Janice for allowing me to share her pictures. Blessings xo

Friday, 10 August 2012

Dance Room Word Art


Another easy piece of art you can incorporate into your dance room decor is word art. The easiest way is just to print something and frame it, though you could pen or paint it yourself if you have an artistic flair. There are lots of ideas you could use, here are some to inspire you!


Definitions:
 Use a word that inspires you like strength, courage, perserverance, joy, etc. Copy and paste the definition and alter as you like - varying the size, font, etc. I have used the word tribe below as an example.

tribe 

[trahybnoun
                 
any aggregate of people
united 
by ties of descent from common ancestor, 
community 
of customs and traditions,
adherence to the same leaders, etc.


 This is a great website. Type in the words you select and then adjust the colour, layout and font as you desire. One tip: the more you type the same word, the bigger it will appear in the final design. For instance in the wordle I created below, I typed dance six times. 


Quotes:
  Print out one word, phrase or quote in a font and design you like and frame it. You could use a reminder word like smile or posture, or a joyful word. You could use a long poem about dance or a copy of the ATS Tribal Code. Here are some quotes and phrases too:


When all else fails... dance.

"Life is a mystery, dance with mastery, walk with grace, live in beauty, be what you believe." Myra Krien

The only way to make sense out of change is to plunge into it, move with it, and join the dance. – Alan Watts


What is dance but a dream in motion?


Dancing frees the spirit, clears the mind, and cleanses the soul.


To dance an ancient movement in a modern era is to defy time and connect us all in spirit.


If the day is dark, dance to shine. If the day is sad, dance to smile. If the day is dead, dance to feel alive again.


Dance when you can, tomorrow isn’t promised.


A day I don't dance is a day I don't live.


When we dance, the goddess within embodies our feeble flesh- free, alive & full of peace, she strengthens us to believe in our potential - her.


improv for life! Originally pinned by Megan Mattingly


Wednesday, 8 August 2012

Shisha Wall Mirror Tutorial


Hey everyone! As promised here is a project that is easy, quick and will look great in a dance room! A shisha stitch holds a piece of mirror onto fabric for a flash of shine and sparkle. Why not invite that shine into our dance space with an enlarged version? This project is great for using up leftover yarn from making tassels too! Here we go.

You will need:
- Yarn
- Cardboard (I used cereal boxes!)
- Mirrors (I picked mine up from Michaels in 3 different sizes)
- Hot glue gun
Optional: paint, hanging fixture

Step one:
Trace your mirrors one at a time onto pieces of cardboard. Using a compass, you'll want to draw two more circles. One should be about an inch bigger than your mirror, the other about a half an inch smaller. Of course, this is up to you - if you want thicker or thinner that is fine, just make sure there is enough to overlap the mirror. Cut out your circles. (Confession - I am compass-less. I used random round objects from around my house to trace haha.)

Optional: Paint your circle the colour of your yarn. This way if you accidentally leave any gaps in the yarn it won't be noticeable.


Step two:
Wind the yarn around the cardboard circles. Tie or glue in place. This is the longest part of the project; I recommend watching dance videos or a movie at the same time!


Step Three:
Get your glue gun ready! Draw a line on the backside of your 'shisha' around the inner circle, and press onto your mirror quickly. I added more glue to the yarn knot so it wouldn't come undone, and to the edge of the mirror to reinforce it and cover the hard edge so it can't scratch the wall.


Step Four:
You can tie some yarn to the loops and hang it that way, or use some kind of picture hanging hardware like I did, whatever is easiest! I just glued it right on to the back of the mirror.


Step Five:
Hang your mirrors up and you are done!! I did three mirrors as odd numbers of items in a group are generally more eye pleasing. However you could really go all out with this in your decorating and do a shisha border around the room, on one wall or whatever you like. You could get three large circle mirrors and do giant versions to see yourself dance in, or you could do tiny versions and add magnets to them for your fridge! You could add tassels or bling too. The possibilities are truly endless. Enjoy!


Tuesday, 24 July 2012

Dance Room Decor


I've been thinking a lot about home decor and DIY projects lately, as we're going through our house room by room concocting ideas and plans for renovations. I can't have a dance room unfortunately, as we don't have the space. But a girl can dream! Anyways, I'm feeling inspired! I want to do a few posts about DIY projects you can make to spruce up your dance room. 

Aaaand in a future post I would LOVE to feature some of your dance rooms. 

SO if you have a dance space, please take some pictures and send them along with your name and any details you want to add to thetribalway@gmail.com and you'll be featured on my blog! 

Fun, right?! Can't wait to see the pics!!

In the meantime, here is a mini DIY tutorial for you to make and put up in your dance room! 

You will need:
- Wooden sign from Michaels/craft store of your choice
- Paint or markers


The sky is the limit - paint it, colour it, adorn it, go nuts! I just coloured mine with a jiffy marker and then used a Sharpie paint pen to doodle tribal-like patterns all over it.


And don't forget - go into your dance room with your camera, TAKE LOTS OF PICTURES, and send them to me!!! thetribalway@gmail.com